Recognize's Custom Surveys is designed to help you create, distribute, and analyze surveys with ease. Whether you’re looking to gather customer feedback, conduct employee satisfaction surveys, or perform market research, our product provides the flexibility and functionality to meet your needs. This documentation will give you an overview of the product's capabilities and outline the types of surveys you can create.
Use the below menu to jump to specific topics:
Types of Surveys You Can Create
Creating Surveys as a Company Admin
Monitoring & Reviewing Survey Results as a Company Admin
Key Features
-
Survey Creation
- User-Friendly Interface: Our intuitive drag-and-drop interface allows you to design surveys quickly and easily, without needing any programming knowledge.
- Customizable Templates: Choose from a variety of pre-built templates tailored to different survey types, or create your own from scratch.
- Question Types: Add various types of questions, including multiple-choice, text, rating scales, Likert scales, drop-downs, and matrix questions.
- Branching Logic: Use conditional logic to direct respondents to different questions based on their previous answers, ensuring a personalized survey experience.
-
Survey Distribution
- Multiple Channels: Distribute surveys via email, web links, social media, or embed them on your website.
- Customizable Invitations: Design and send personalized invitations and reminders to respondents, increasing participation rates.
- Targeted Distribution: Use segmentation options to target specific groups of respondents based on demographics, behavior, or other criteria.
-
Response Collection and Management
- Real-Time Analytics: Monitor survey responses in real-time with live dashboards and analytics.
- Response Filtering: Filter responses based on various criteria to focus on specific data sets.
- Data Export: Export data in multiple formats, including Excel, CSV, PDF, and SPSS, for further analysis or reporting.
-
Data Analysis
- Advanced Reporting: Generate detailed reports with customizable charts, graphs, and tables.
- Cross-Tabulation: Analyze data intersections to uncover deeper insights.
- Sentiment Analysis: Use sentiment analysis tools to gauge respondent emotions and opinions.
-
Security and Compliance
- Data Security: Ensure respondent data is responsibly handled.
- Compliance: Adhere to major data protection regulations, including GDPR and CCPA, to protect respondent privacy.
Types of Surveys You Can Create
- Employee Net Promoter Score (eNPS)
- General Feedback Surveys
- Employee Engagement Surveys
- Employee Satisfaction
- Pulse Surveys
Creating Surveys as a Company Admin
To create surveys for your teams, make sure you've first added surveys to your Recognize package. Once Surveys have been turned on for your team, visit the Company Admin portal.
- From the Company Admin Portal, select 'Surveys' from the left side menu
- Select 'New Survey' from the top right tertiary menu
- Choose from a pre-made template, which you can then customize further
- Or, create a custom survey by clicking on 'Create Custom'
- Enter a title for your survey in the provided text box at the top of the page
- Toggle the 'Enable Survey' setting to on if you'd like this survey to be available for employees to see and take in the 'Surveys' tab in the main menu
- The 'Designer' button will allow you to see options for building your survey
- The 'Preview' button will allow you to see a preview of the survey as an end user
- If you know what type of questions you want to use, you can use the options menu on the left to click on and add each question type to your survey form - you can alternatively drag and drop question types into the middle section for editing
- You can also customize text answer options to fit your needs for long or short responses from the left menu
- If you're not sure what type of question you want, but you'd like to create a draft of questions, you can click on 'Add Question' in the middle of the screen which will allow you to add the question now, and decide later
- You can adjust general configuration settings for your survey on the right-hand side of the screen by expanding the 'General' section where you'll find the following settings:
- Survey Title
- Survey Description
- Survey Language
- Survey Display Mode (allows you to share a read-only version that cannot be responded to)
- Survey Width Mode - If you'd like to add your company's logo in the survey header, you can do so from the right-hand menu by expanding 'Logo in the Survey Header' which allows you to edit the following:
- Survey Logo
- Logo Width
- Logo Height
- Logo Fit - Select 'Question Settings' from the right-hand menu to expand options for questions, which allows you to edit the following:
- Question Order (original or randomized)
- Question Title Alignment
- Question Description Alignment
- Question Numbering
- Question Title Pattern
- Required Symbols
- Question Indexing Type
- Error Message Alignment
- Restrict Answer Length
- Restrict Comment Length
- Comment Area Height
- Auto-Expand Text Areas
- Allow Users to Resize Text Areas - Select 'Pages' from the right-hand menu to expand options for Pages, which allows you to edit page names and titles
- Select 'Conditions' from the right-hand menu to expand options for adding custom variables and triggers to your survey questions..
- Select 'Data' from the right-hand menu to expand options to clear the hidden question values, update input field values, and choose if you would like to auto-save survey progress.
- Select 'Validation' from the right-hand menu to expand options for adding Validation options, which allows you to edit how and when you'd like your survey to be validated.
- Select 'Thank You Page' from the right-hand menu to expand options for the Thank You Page, which allows you to edit the following:
- Redirect to an external link after submission
- Show Thank You Page
- Thank You Page markup
- Dynamic "Thank You" Page Markup
- Markup to show while survey is loading
- Markup to show if the user already filled out the survey - Select 'Quiz Mode' if you would like your survey to be timed. You can adjust the settings and time limits in this section.
- Select 'Create Survey' when you're happy with all settings and questions
NOTE: You will need to create a survey period for your survey before it goes live.
Survey Periods
Once your survey has been created, you'll want to designate a time period for it - even if it will remain open indefinitely. Without a survey period assigned, the survey will not show up for end users. After clicking the 'Create Survey' button:
- Select 'Time Periods' from the top right tertiary men
- Create a new survey period for your survey in the module on the left
- Edit or delete additional survey periods or view details in the module on the right
- Toggle 'Enable survey' on in the top right corner to make your survey available for your employees in the 'Surveys' tab
NOTE: If you'd like to set up your survey and time periods, but not publish your survey, keep this setting toggled off.
Survey Notifications
- From within the Company Admin Portal, select 'Surveys' from the left side menu
- Select 'Settings' from the right side tertiary menu
- Toggle on/off email and SMS reminders for your surveys that would automatically send 1/4th of the way and 3/4ths of the way into your survey period
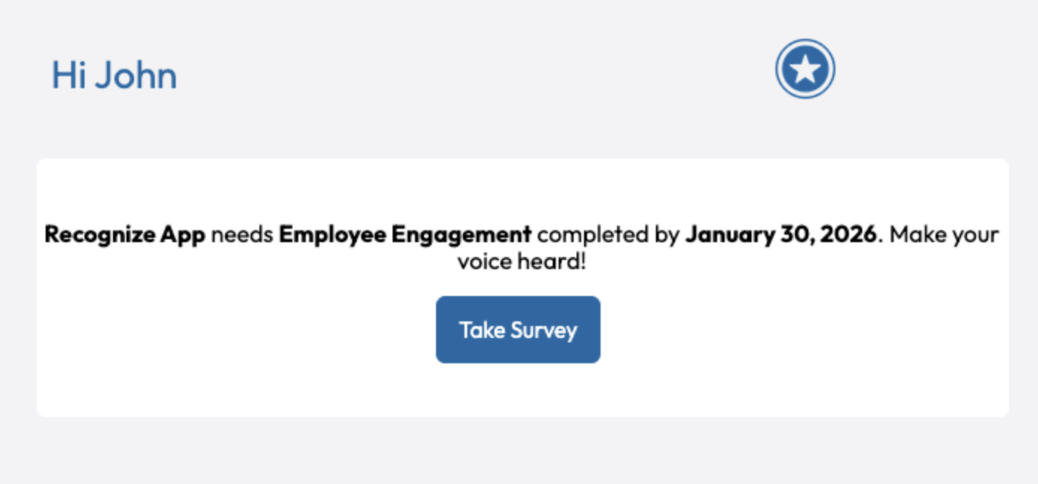
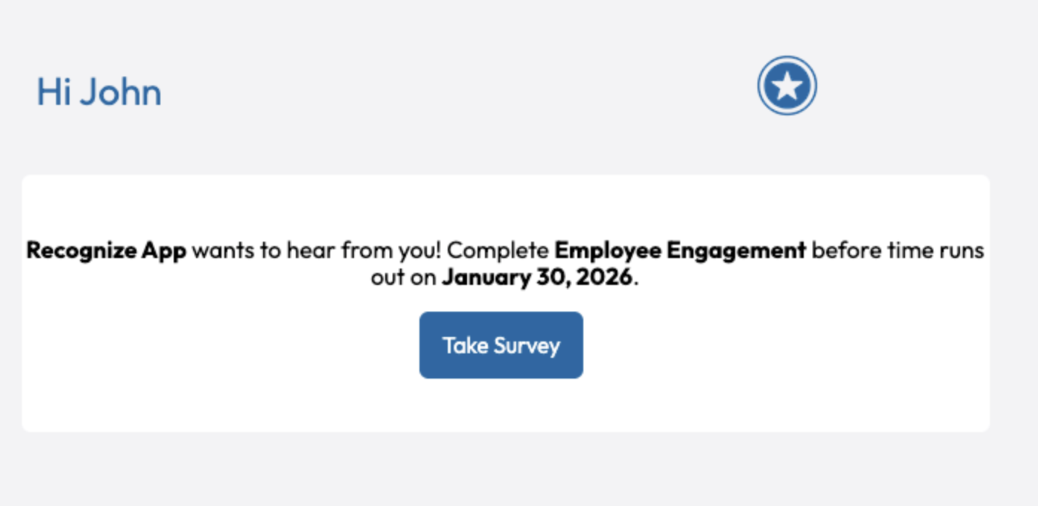
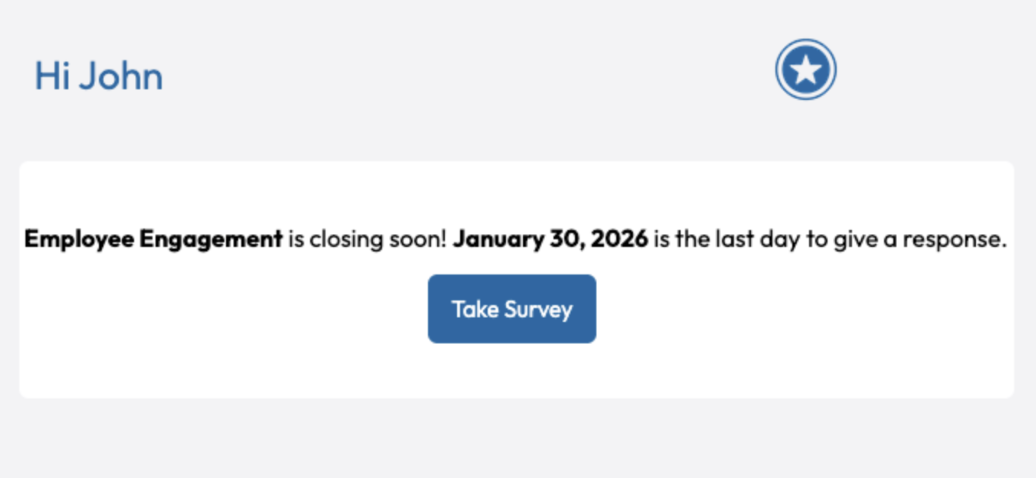
Example Email Notifications Below:
Open Notification (start date of survey period):
First Reminder (1/4 of the way into your survey period):
Final Reminder (3/4 of the way into your survey period):
Taking Surveys as an Employee
Employees will see a new 'Surveys' tab in the top left main menu when there is an actively running survey that they are eligible to take. Follow the below steps to complete a survey submission within the Recognize platform.
- Log in to Recognize, and click on the 'Surveys' button in the top left main menu to view active surveys
- Each survey will appear in its own module on this page
- Pay close attention to the survey period, which will be listed underneath the name of each survey, and indicates when the survey will close
- Click the 'Take Survey' button to begin the survey
Monitoring & Reviewing Survey Results as a Company Admin
After your survey goes live, you'll want to track response rates in the Recognize platform. You'll also have access to survey reports as responses come in, and after your survey period closes. This data can all be found within the Company Admin portal under the 'Surveys' tab.
- Once in the Company Admin portal, select 'Surveys' from the left side menu
-
Select the survey you'd like to view data for from the next screen
- Select 'Time Periods' from the top right tertiary menu to choose the survey period you'd like to view
- Select 'Details' next to the survey period you'd like to view to take you to the survey data
- You will then land on an overview page that will show survey completion numbers and completion by day
- The module on the left has numbers for total audience that the survey was sent to, as well as how many have completed and not completed the survey
- The table on the right breaks these numbers down to show completion rates by day
- You can select the 'Results' tab in the right hand tertiary menu to look at the survey results in a report format
- Use the drop-downs for each question to customize the visual you see
- You can also export the survey's raw data by selecting the 'Data' tab in the right hand tertiary menu
- Use the search bars to find specific results
-
Choose the format you'd like to use for export above the table